
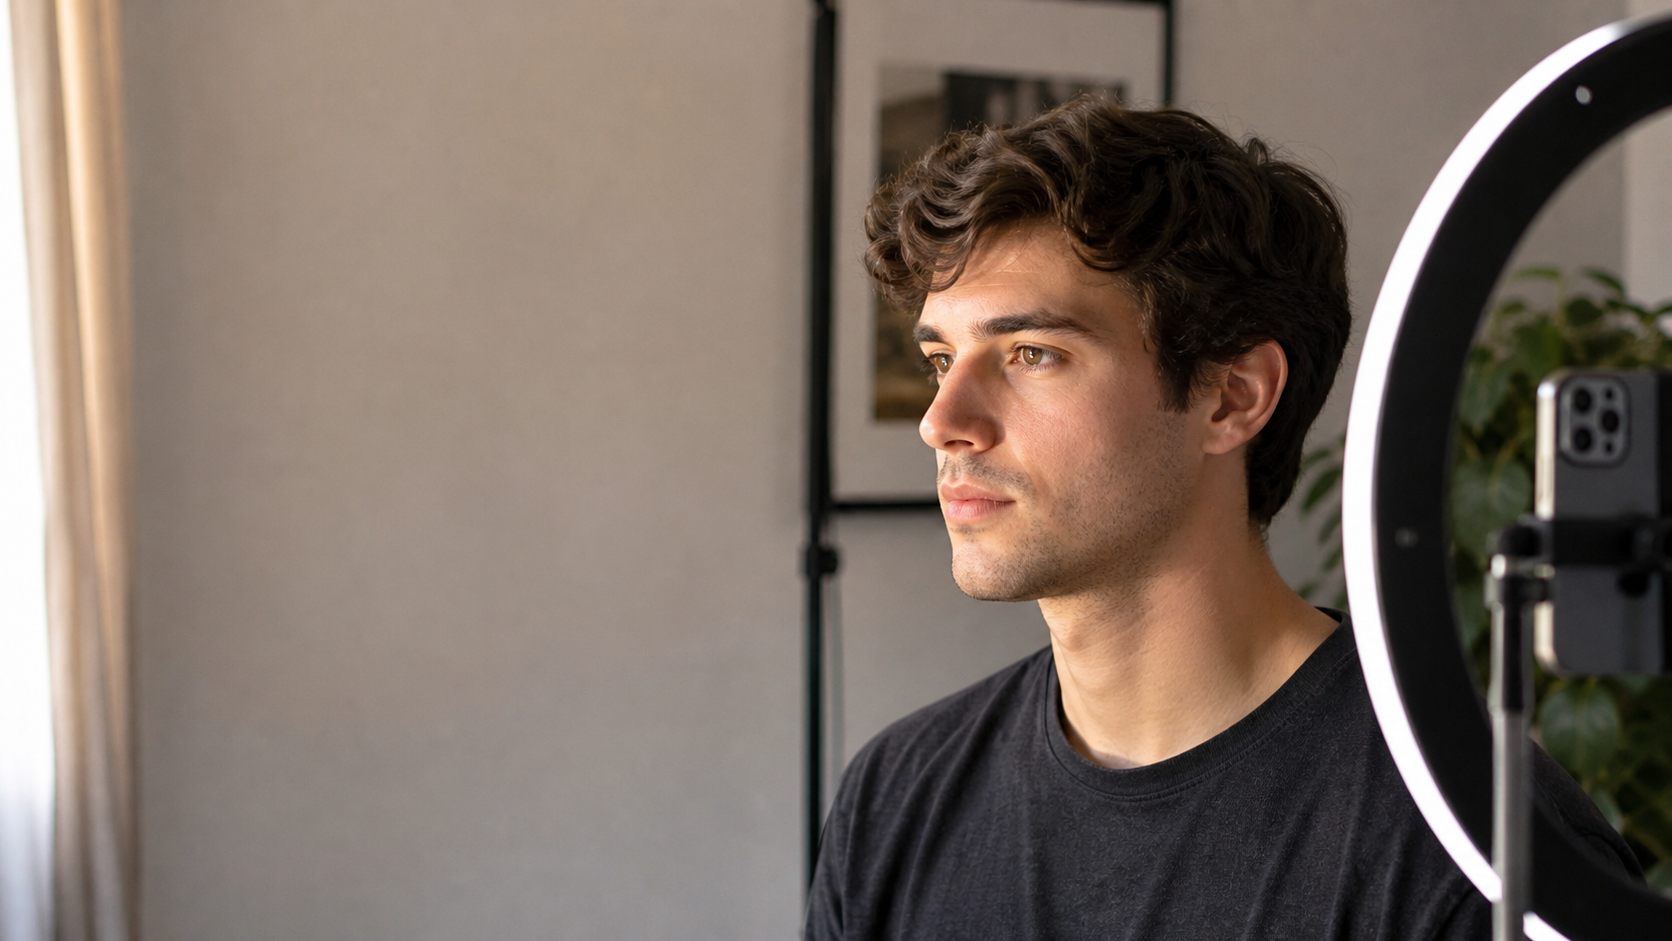
Two photos can be taken five seconds apart and seem to show two different versions of your face. In one, your nose looks larger and your ears almost disappear. In another, your jaw looks more defined. A third catches a half-expression that you never see in the mirror.
The simplest explanation is not that your face changed. The photograph changed.
A camera turns a three-dimensional, moving face into a flat rectangle from one position, under one pattern of light, at one instant. Camera distance changes relative proportions. Lighting changes which planes appear prominent. Pose and expression change what is visible. Exposure, processing, crop, and screen size change the image again.
Understanding those variables can help you make a more representative portrait. It cannot rank your worth, diagnose your anatomy, or identify one “correct” version of your face.
Start with distance, not the lens label
Perspective is the geometric relationship between the camera and the subject. When a camera is close, parts of the face nearest the camera occupy more of the image than parts a few centimeters farther away. On a face, that small depth difference matters: the nose and central midface are closer to the lens than the ears.
The US National Institute of Standards and Technology defines perspective distortion as a change in appearance introduced by insufficient subject-to-camera distance, giving a larger nose and smaller ears as an example.
A 2024 facial-measurement study photographed 12 people using a smartphone and a full-frame camera at six distances. At eight inches, selected full-frame setups produced 12%–19% vertical stretching of measured midfacial features; the smartphone produced an 18% increase. At 12 inches, the smartphone measurement was still 12% greater than the study’s long-distance reference.
Those numbers come from a small clinical-photography study, so they are not universal predictions. They do demonstrate a physical point: a very close photo can change measurable relationships within the image.
A separate geometric model of the “selfie effect” reached the same conclusion by projection math. At a modeled distance of 12 inches, nasal breadth relative to facial width appeared about 30% greater for average male dimensions and 29% greater for average female dimensions than under an idealized orthographic projection. At five feet, the modeled difference was essentially absent. That is a model based on average measurements—not a finding that every person’s nose changes by exactly 30%.
This is also why “wide lenses distort faces” is only half an explanation. A review of photographic focus distance explains that camera position determines perspective distortion. Focal length controls field of view and framing when the camera stays in the same place. In everyday use, a wide lens often appears connected to distortion because you move very close to fill the frame; a longer setting encourages you to step back.
The practical sequence is therefore:
- Move the camera farther away.
- Use moderate optical zoom, if available, to restore the framing.
- Crop afterward if the file has enough resolution.
Digital zoom cannot repair perspective already created at a close distance. It only enlarges the central pixels.
Lighting redraws the visible planes
Your face does not have one fixed set of shadows. Move from a window to an overhead ceiling light and the geometry stays the same, but the image can look dramatically different. Side light deepens the transition between lit and shadowed planes. A small overhead source can darken the eye sockets. Broad light near the camera axis reduces strong shadow boundaries. Exposure and phone processing can then compress or exaggerate those differences.
Controlled studies confirm that lighting affects perception, but they do not identify one universally “best” setup. The Bi-AGI face-image study photographed 30 people across three illumination and three gaze conditions. Participants’ ratings changed with those conditions. Split lighting lowered attractiveness and trustworthiness ratings overall compared with some other tested lighting, while the pattern also interacted with the age and gender of the photographed person.
That last detail is important. A group average from 30 faces is not a rule for your face, and an attractiveness rating is not an objective measurement. The evidence supports the narrower claim: illumination changes the information viewers receive and can change their impressions.
For a neutral, repeatable portrait, try a broad light source slightly above eye level and 30–45 degrees to one side. A large window with indirect daylight often works. Face the window more directly for flatter, lower-contrast light; rotate gradually for more shape. Avoid mixing strongly different light colors if accurate skin tone matters.
None of this makes side light bad. Dramatic light can be a deliberate aesthetic choice. The problem comes when you compare a hard-lit frame with a soft-lit frame and treat the difference as a change in your body.
Pose changes visibility—not your underlying structure
Turn your head and different features overlap. A three-quarter view reveals contour and depth that a frontal view compresses. Lowering the camera makes the underside of the jaw and nose more visible; raising it shows more of the upper face. Tilting the head changes horizontal and vertical relationships inside the frame. Even the eye closest to the lens can appear larger when the camera is near.
Yet pose effects should not be exaggerated into universal attractiveness formulas. In a study comparing standardized frontal, profile, and rotating views of male faces, average attractiveness and formidability ratings were highly congruent across views, with no significant difference in the means. That result counters the idea that one viewing angle reliably transforms everyone. It also came from male-face stimuli under standardized conditions, so it cannot settle every real-world case.
Pose matters most as part of an image: it controls visible contour, overlap, gaze, and expression. It is not a correction for a defective face.
Expression and timing create their own versions
The mirror usually gives you a live, familiar sequence. A photograph freezes a fraction of a second. During speech, blinking, swallowing, or changing expression, muscle positions can produce a frame you would never hold intentionally. Phone cameras may also combine several exposures, sharpen local contrast, or select a frame from a short burst.
Familiarity adds another wrinkle. You usually see a mirror-reversed version of yourself, while other people see the non-reversed orientation. Ordinary facial asymmetry makes those views look different without making either one false.
The fairest response to an odd frame is often statistical: take several frames, allow a relaxed expression between them, and judge the set rather than treating one millisecond as a verdict.
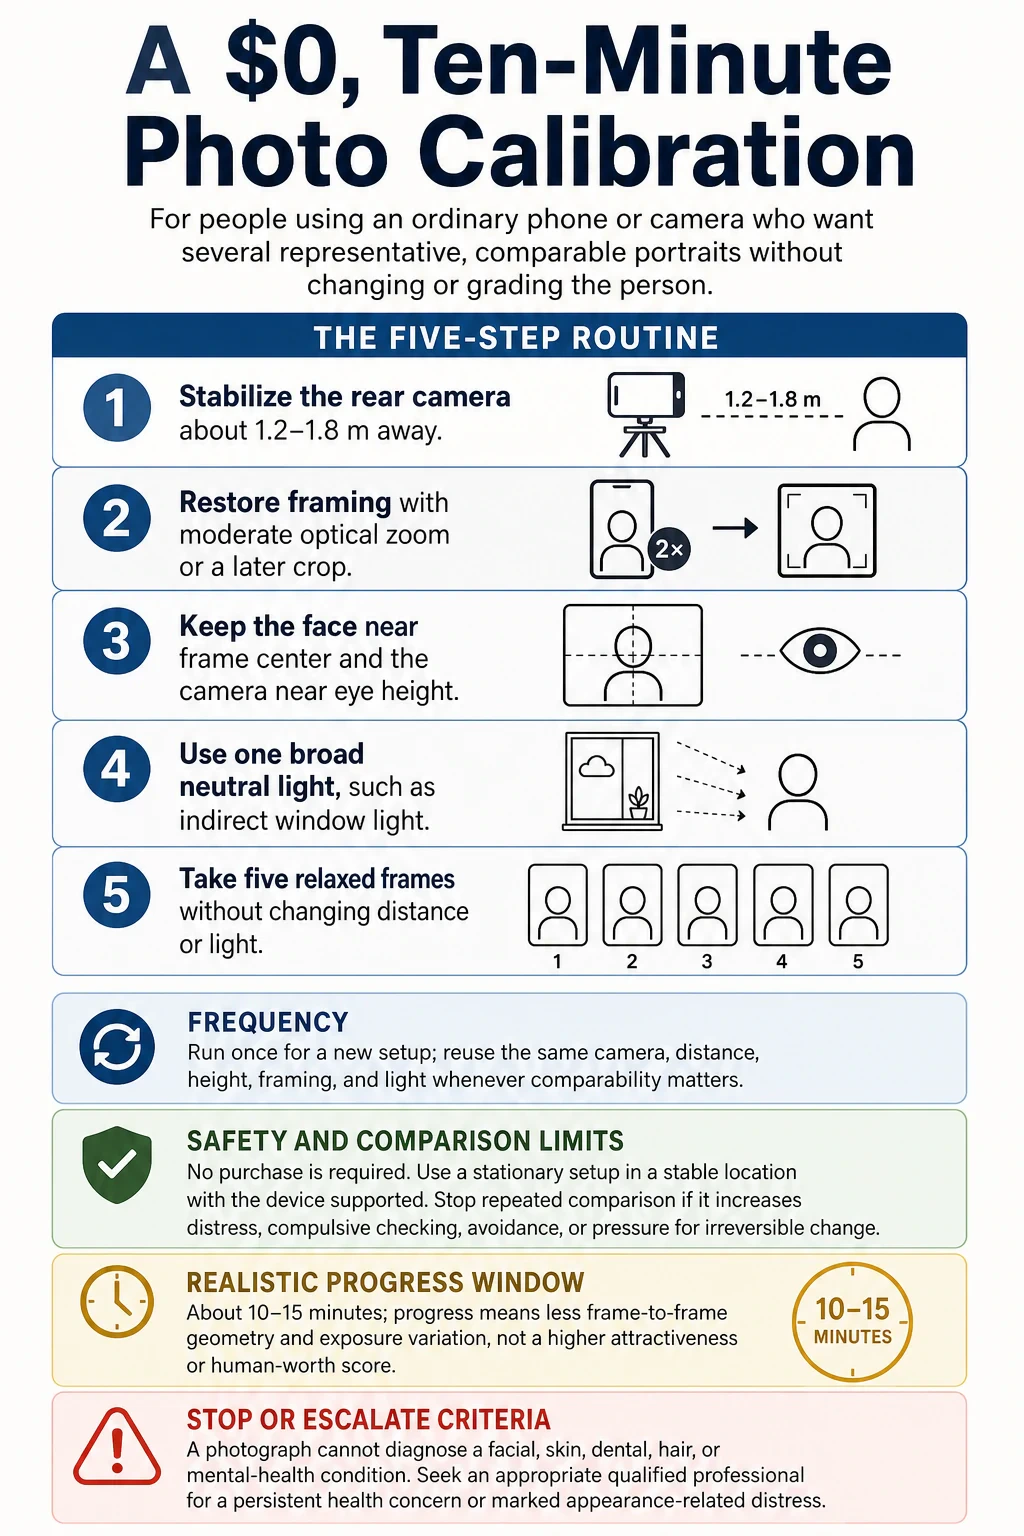
A $0, ten-minute calibration
This routine is designed to reduce uncontrolled variation. It is not a procedure and it does not promise to increase attractiveness.
1. Build a repeatable setup
Use the rear camera if practical because it is often easier to keep a consistent focal setting and may provide better image quality. Put the phone on a stable surface or inexpensive stand. A stand and remote are optional; the routine can cost $0.
Start roughly 1.2–1.8 meters (four to six feet) from the camera. That range is a practical translation of the perspective evidence, not a magic distance. Small rooms, sensor size, desired crop, and available focal lengths will change the exact setup.
2. Restore framing without stepping close
Use a moderate optical zoom setting if your phone has one, or crop later. Keep your face near the center of the frame, especially with a wide-angle camera, because edge stretching can add another type of distortion.
3. Put the camera near eye height
Start level, with neither a strong upward nor downward angle. Then make small intentional adjustments. A neutral baseline gives you something to compare against; it is not the only valid artistic choice.
4. Use one broad, neutral light
Stand near a window without direct sun, switch off strongly colored competing lights, and expose so that bright skin areas retain detail. If one side is too dark for the goal, turn toward the window or use a pale wall to bounce light.
5. Take five relaxed frames
Look at the lens, breathe out, relax the jaw, and take a short burst or use a timer. Include a neutral frame and a natural expression. Do not change distance or lighting between frames.
Evaluate consistency: Are relative feature sizes stable? Is exposure similar? Do several frames feel recognizably like you? That is a better progress signal than choosing the single frame that earns the highest attractiveness score.
Compare photos only when the conditions match
A meaningful comparison should disclose or control:
- camera and front/rear lens;
- approximate camera distance;
- focal-length or zoom setting;
- camera height and angle;
- face position within the frame and crop;
- light size, direction, and color;
- exposure and phone processing;
- pose, gaze, and expression;
- makeup, filter, skin smoothing, reshaping, and other edits.
If those variables differ, the images do not isolate a change in appearance. Controlled experiments show that presentation alone can alter social judgments: in one series of perspective-distortion experiments, distance-dependent facial warping influenced ratings even when image size, expression, resolution, highlights, and focus were controlled. That says something about image perception, not a stable truth about the person.
Keep the conclusion proportional to the evidence
Try reversible image changes before drawing conclusions about your body. Distance, crop, light, camera height, timing, and global exposure are low-cost and easy to undo. Filters, local reshaping, and aggressive skin smoothing are less useful for learning what created the original difference because they replace information rather than control it.
An unrepresentative photo is not evidence that you need a product, drug, dental treatment, injectable, or surgery. This article recommends none of those, contains no affiliate links, and has no clinic or product sponsor.
Stop repeated photo comparison if it increases distress, compulsive checking, avoidance, or pressure to make an irreversible change from a single image. A photograph cannot diagnose a facial, skin, dental, hair, or mental-health condition. If an appearance concern is persistent or interferes with daily life, speak with an appropriate qualified professional. For minors, keep the response conservative: better lighting and a little more camera distance are enough.
There is no single photograph that contains your whole face. There are only renderings made from particular positions under particular conditions. Once you control those conditions, the differences become less mysterious—and much less deserving of a verdict about you.
This article is educational photography guidance. It does not diagnose a condition or recommend medical or cosmetic treatment.


